Introduction
Understanding visitor behavior on your website is essential for improving user experience and increasing conversions. One of the most effective techniques is to track visitors’ mouse movements, analyzing where interactions are concentrated. In this tutorial, we’ll explore how to monitor visitor mouse movements, automatically generate screenshots, and create heatmaps that highlight interaction hotspots.
Motivation
Tracking mouse movements provides valuable insights into how users navigate your website. This can help identify areas for improvement in usability and optimize your page structure to better guide user attention.
Scope
This tutorial provides a step-by-step guide to creating an automated system that tracks mouse movements, generates heatmaps, and updates Firestore with the collected data using Google Cloud Functions and Firebase.
Objective
By the end of this tutorial, you will have an application capable of:
- Tracking and recording visitor mouse movements.
- Generating screenshots of visited pages.
- Creating heatmaps based on mouse movements and clicks.
- Saving generated heatmap URLs to Firestore.
Here is an example of a generated heatmap showing movements and clicks:
Mouse Tracking Video Example
![]()
Generated Heatmap with Mouse Positions in Red and Clicks in Blue
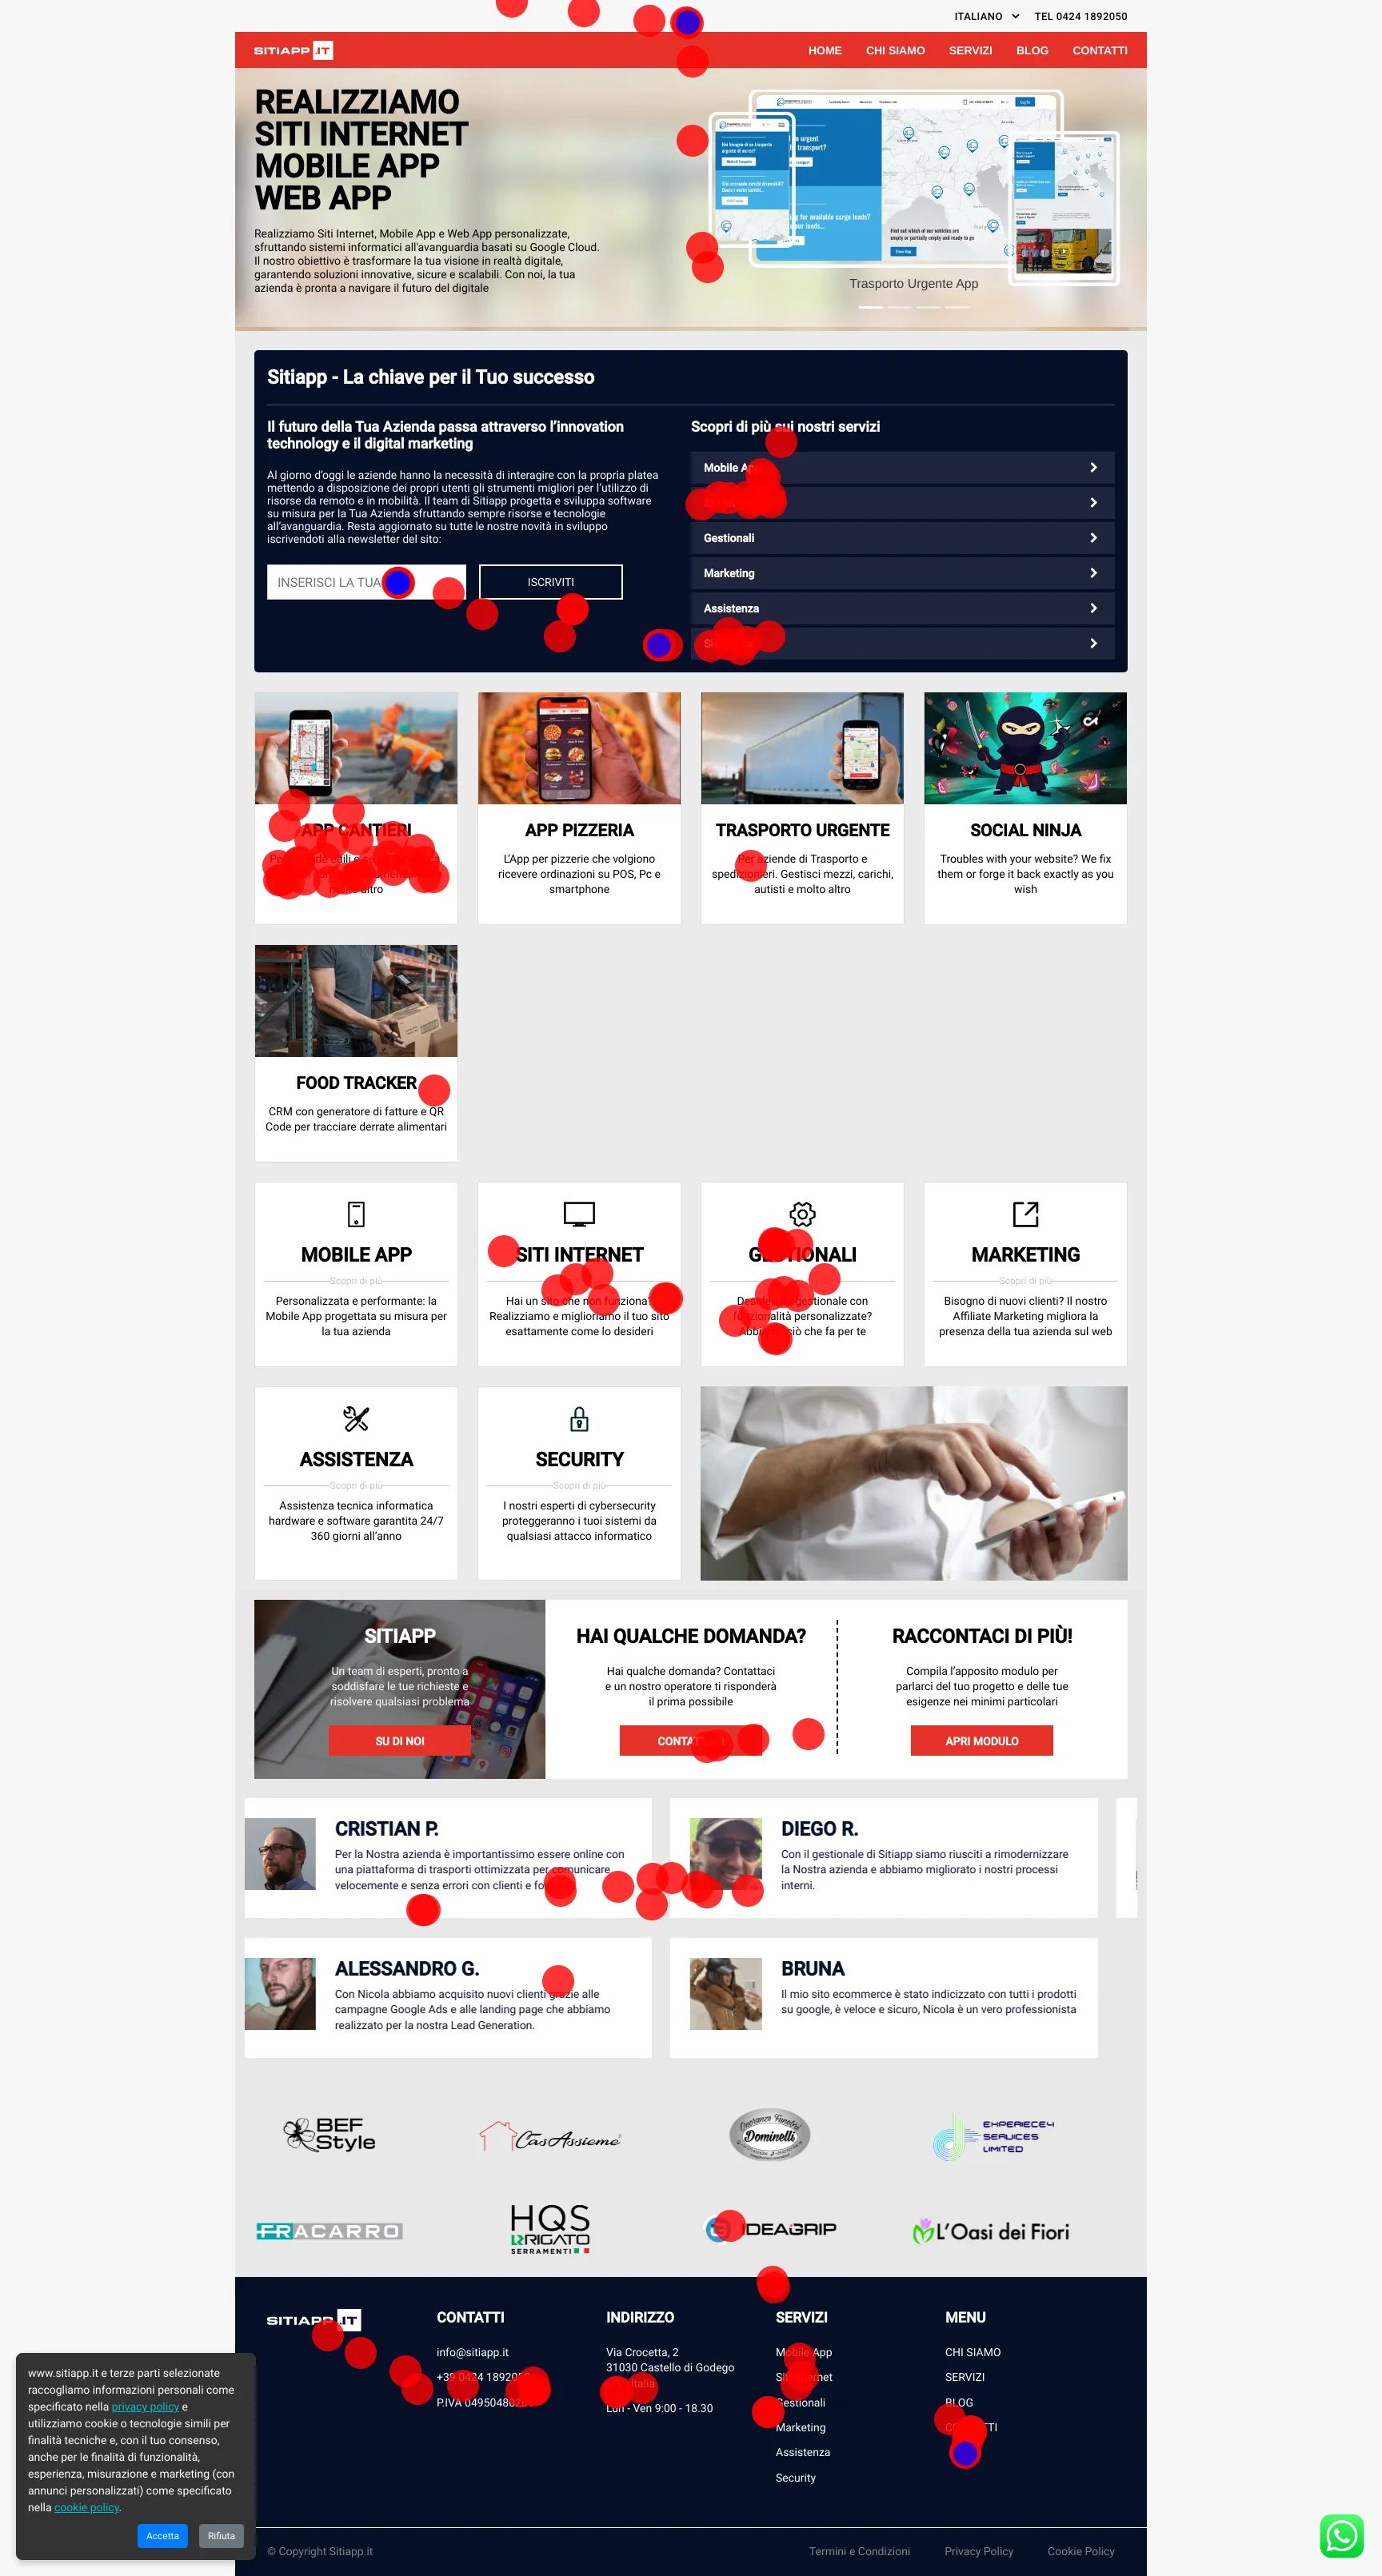
In this image, red circles represent mouse movements, while blue dots indicate where users clicked.
With this system, you can improve the design and structure of your website, optimizing the user experience based on real behavioral data.
Summary of Steps
- Integrate Mouse Tracking Code into Your Website.
- Create Cloud Function to Retrieve Sitemap and Save URLs.
- Implement Cloud Function to Generate Page Screenshots.
- Detect New Sessions with Cloud Function.
- Generate Mouse Movement-Based Heatmaps with Cloud Function.
- Automatically Save Heatmap URLs to Firestore.
1. Integrate Mouse Tracking Code into Your Website
To track mouse movements and collect user session data, integrate the following JavaScript code into your website. The data will be sent to Firestore.
Code for Mouse Tracking
Add the following JavaScript file to your site to track mouse movements and clicks:
static/js/firebase/mouse-tracker.js
| |
Initialize Firebase Create the firebase/init.js file to initialize Firebase and Firestore.
firebase/init.js
| |
2. Create Cloud Function to Retrieve Sitemap and Save URLs
The second step involves retrieving page URLs from the sitemap.xml file and saving them to Firestore. This allows us to know which pages to visit and generate screenshots for.
Code:
| |
3. Implement Cloud Function to Generate URL Screenshots
Once the URLs are retrieved, we utilize another Cloud Function to automatically generate screenshots of each page.
Code:
| |
4. Detect New Sessions with Cloud Function
This function detects the creation of a new user session and collects mouse positions during the visit.
Code:
| |
5. Generate Mouse Movement-Based Heatmaps
Once we’ve collected the mouse data, we can generate a heatmap by overlaying mouse movements and clicks on a screenshot of the page.
Code:
| |
6. Automatically Save Heatmap URLs to Firestore
Finally, we can automate the saving of generated heatmap URLs directly to Firestore, allowing us to retrieve and analyze them later.
Conclusion
By implementing this system, you gain detailed insights into how visitors interact with your site by analyzing mouse movements and clicks. With Cloud Functions, the process is fully automated, from heatmap creation to storage in Firestore.
Cost Warning
It is important to note that implementing such a system on Google Cloud could result in unforeseen costs, especially in the event of high website traffic or intensive use of resources such as Cloud Functions, Firestore, and Cloud Storage. It is recommended to carefully monitor resource usage and configure budget alerts to avoid excessive or unexpected costs. Use this system at your own risk and consider alternative solutions to manage costs effectively.